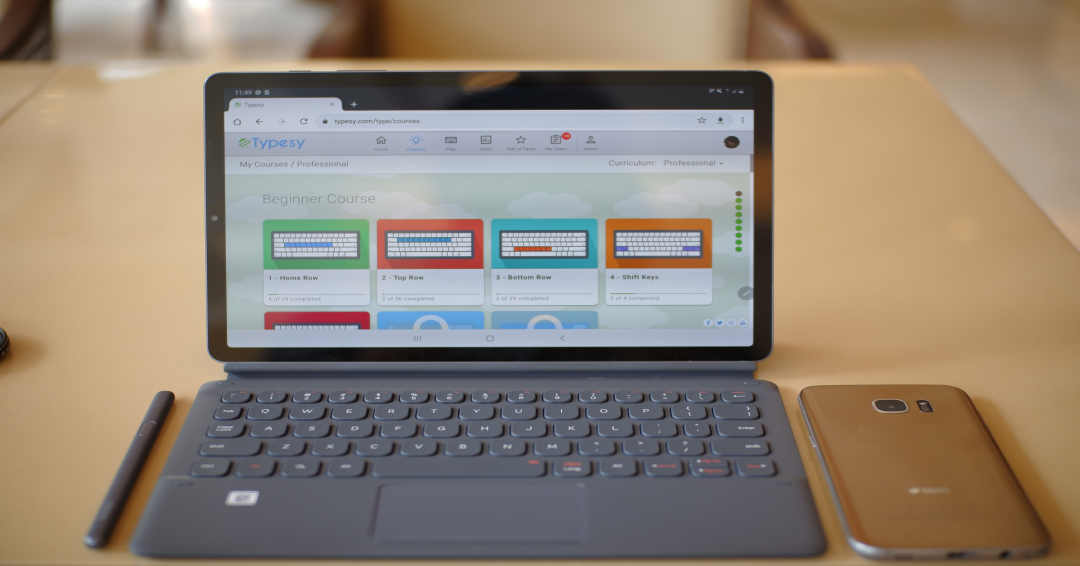
Touch typing is a method of typing that involves centering your hands on the keyboard using a specific position. A touch typist does not look at the keyboard while typing and uses all ten fingers to type.
If you aren’t using the touch-typing method, you are likely hunting and pecking. Hunt and peck typists generally use only a few fingers to type and frequently look down at the keyboard to find key locations.
A practiced touch typist can type with much more accuracy, focus, and speed than a hunt and peck typist. When you don’t have to look at the keyboard to type, you can concentrate more on the material you are copying, or listen more closely to the presentation being given.
You can also look at the screen while typing and identify errors as they appear. Editing on the go can improve accuracy and prevent future mistakes.
You can’t deny that technology grows more important each day. Most jobs in business, academia, healthcare, and media require a high level of skill with computers and typing. Many jobs even require a specific typing speed (which is usually higher than what hunt and peck produces).
If you are interested in finding a new career or advancing in your current job, it is definitely worthwhile to improve your typing ability.
The first thing to learn about touch typing is the home position for your hands. This is where you will place your hands on the keyboard when you start typing, and it is where your hands return throughout the typing process. From the home position, you move your fingers across the board to access different letters and keys.
Here are where your fingers should be placed for the home position:
On your left hand:
Pinky finger ? a
Ring finger ? s
Middle finger ? d
Index finger ? f*
On your right hand:
Index finger ? j*
Middle finger ? k
Ring finger ? l
Pinky finger ? ;
*The ‘f’ and ‘j’ keys have small bumps to help you feel your way to home position without having to look at the keys. All keyboards should have this feature.
The home position also sets up the way that you find each individual letter. One of the goals of touch typing is to minimize the amount of movement that each finger has to make. Consequently, each finger is ‘assigned’ to a different set of keys.
For example, the index finger of your right hand is always used for the ‘j’, ‘h’, ‘u’, ‘y’, and ‘n’ keys. As you start learning to touch type, you will want to try and learn each of these key assignments. But over time, your fingers will do the work for you and the entire process will be done without thought.
One of the best ways to learn touch typing is to use a keyboard cover. Many of the benefits of touch typing come from not looking at the keyboard while typing. For beginners, this can be a daunting process. It is difficult to resist the temptation to look for the keys, so covering it up completely can be helpful.
You may also wish to find an ergonomic keyboard to make typing more comfortable for you. Standard keyboards are not the best fit for everyone, and it can be discouraging to be uncomfortable while learning a new technique. Once mastered, touch typing should feel very natural and flow easily from your hands.
At the end of the day, the best thing you can do is practice. Find an online course or an in-person tutor and get to work. It may take some time, and you may need to unlearn some bad habits, but it will all be worth it in the end.
Learn touch typing the right way with Typesy!
Check out Typesy Community and exchange ideas related to touch typing, keyboarding, learning, technology, and Typesy program itself. Login with your Typesy Account here: https://community.typesy.com/